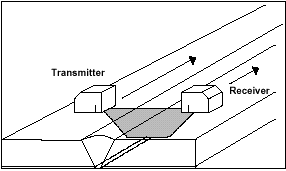
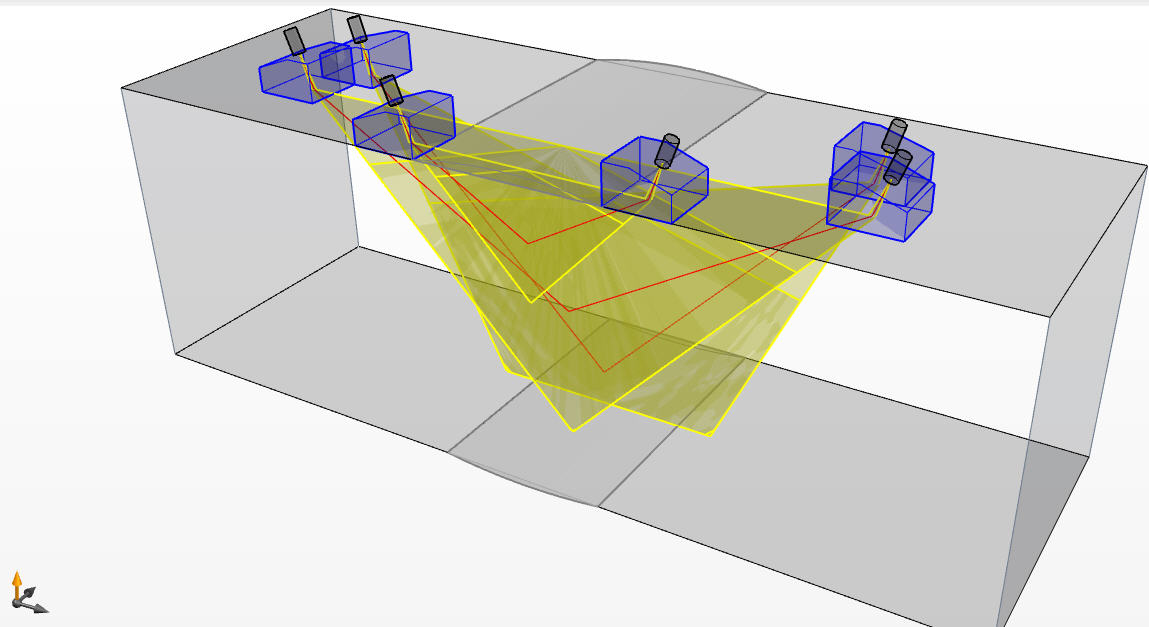
The principle of the TOFD technique is based on mapping of the position of the edges of defects. This is in marked contrast with conventional ultrasonics, which relies on the amplitude of specular reflections received from defects. To determine the position of the defect edges, a wide-beam transmitter probe is placed on one side of the weld under inspection. An identical receiver probe is placed on the other side of the weld.
Time of Flight Diffraction (TOFD)
In the case of a flawless weld, the relevant ultrasonic signal will consist of a so called “lateral wave”, corresponding to the direct surface path between transmitter and receiver, and a back wall echo. Between the lateral wave and the back wall echo there will be no signals. If defects are present in the weld, however, the ultrasonic waves will be diffracted by the edges of the defects. The depth of the defect edge can be calculated from the time of flight of the corresponding ultrasonic wave. Defect height can be readily measured by subtraction of the depth of lower and higher defect edge.

Alternating Current Field Measurement (ACFM)
The alternating current field measurement (ACFM) technique has been developed to provide reliable crack detection and depth sizing without the need to remove paint and coatings. In addition because there is no need for paint removal and repainting, the need for expensive scaffolding can often be avoided and instead the technique can be deployed using much more cost effective rope access methods.

